Tile Installation Tips: Dos and Don'ts for a Flawless Tile Installation in Your Renovation Project
Tile Installation Tips: Dos and Don'ts for a Flawless Tile Installation in Your Renovation Project
Renovating your home is exciting, but one step that can easily make or break the whole look is the tile work. That’s why getting Tile Installation Tips matters so much. A perfectly laid floor or wall feels smooth, sharp, and neat - while a rushed or poorly done job can leave you with uneven lines, cracks, and regret.
If you’re planning a renovation, here are some simple but game-changing dos and don’ts to guide you through the tile installation process.
Why Proper Tile Installation Matters
Tiles are not just about beauty - they’re also about durability and daily comfort. Imagine investing in beautiful tiles but seeing them chip within months because of poor installation. It’s not worth the headache.
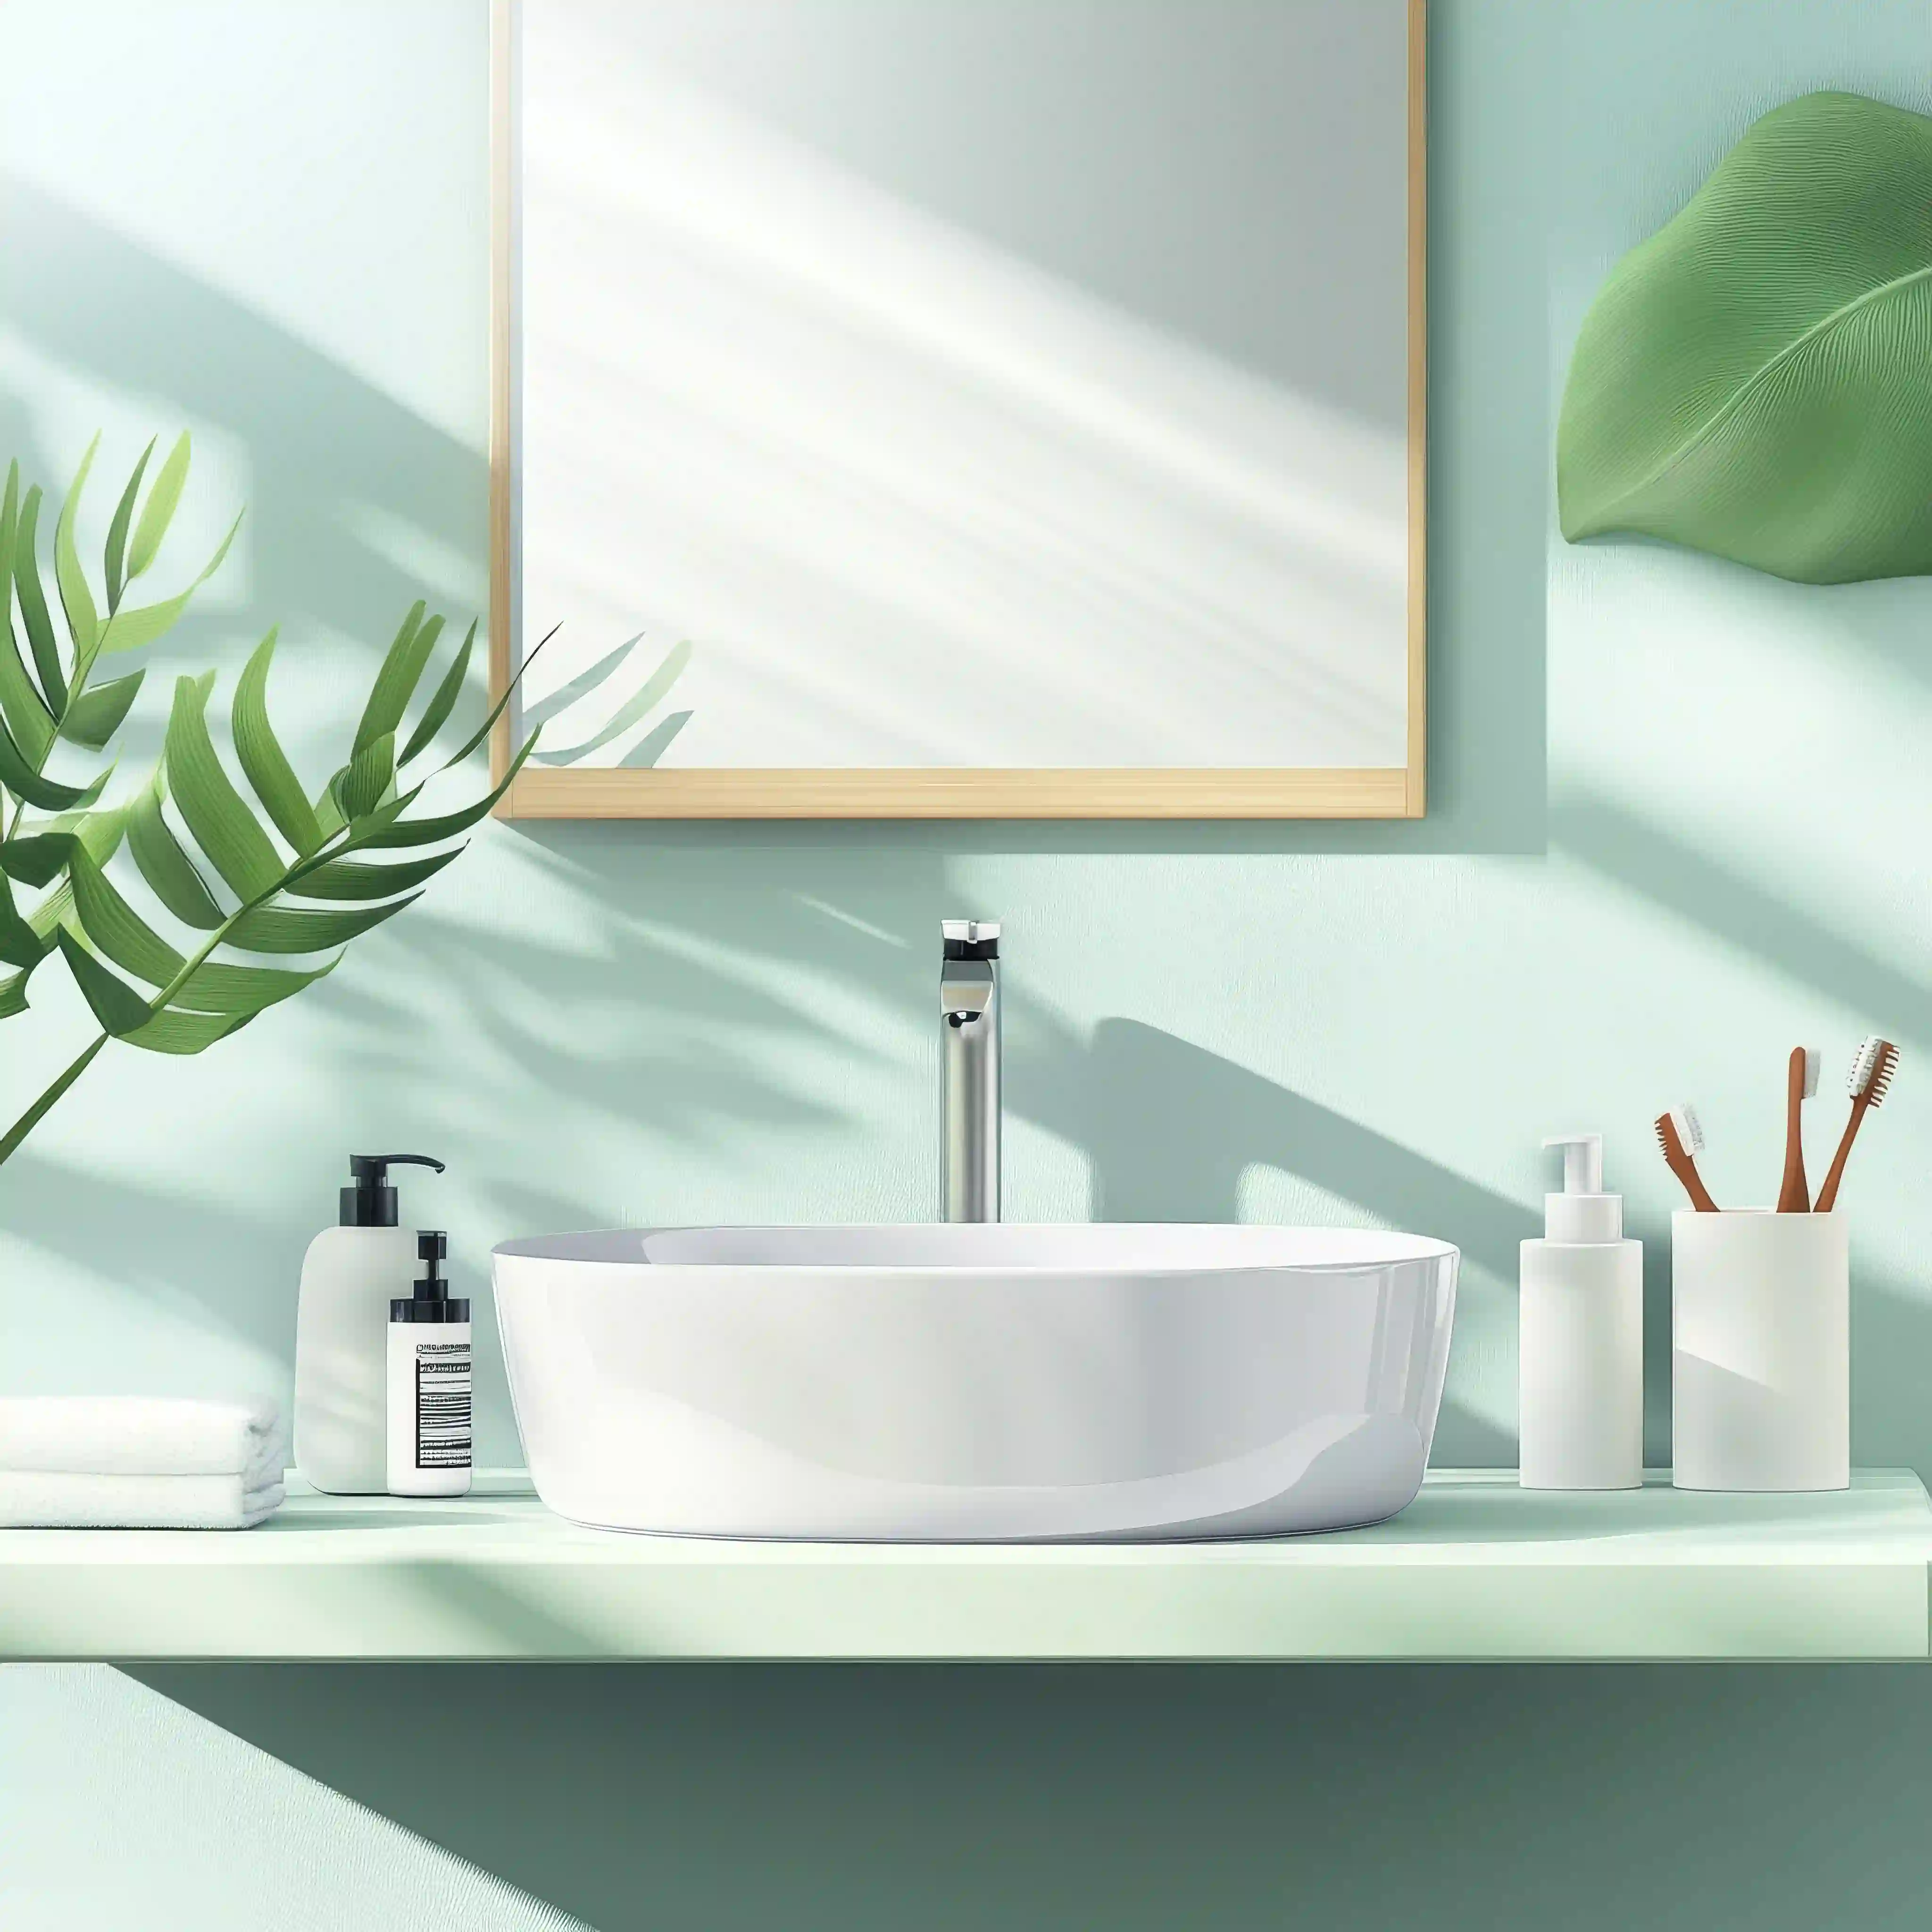
Good installation ensures the tiles bond strongly to the surface, remain even, and last for years. And if you’re using premium floor tiles in Calicut, it’s even more important to lay them correctly so that their natural beauty shines.
Tiles are also one of those things that visitors notice first. Think about it—when you enter a living room or bathroom, your eyes naturally fall on the flooring or the wall design. A wobbly tile line or visible cracks instantly spoils the mood. On the other hand, well-laid tiles create order and calm.
Another thing to remember is cost. Fixing mistakes later isn’t cheap. You may have to redo a large section, buy more grout or adhesive, and pay extra labor. Doing it right the first time saves money and effort.
To understand more about tile materials, check this guide on Ceramic Tiles.
Tile Installation Tips: Dos and Don'ts You Should Follow
Here’s where most people get stuck. Should you prep the floor? Which adhesive works best? Do you really need spacers? Let’s keep it simple.
- The “Dos” You Can’t Ignore
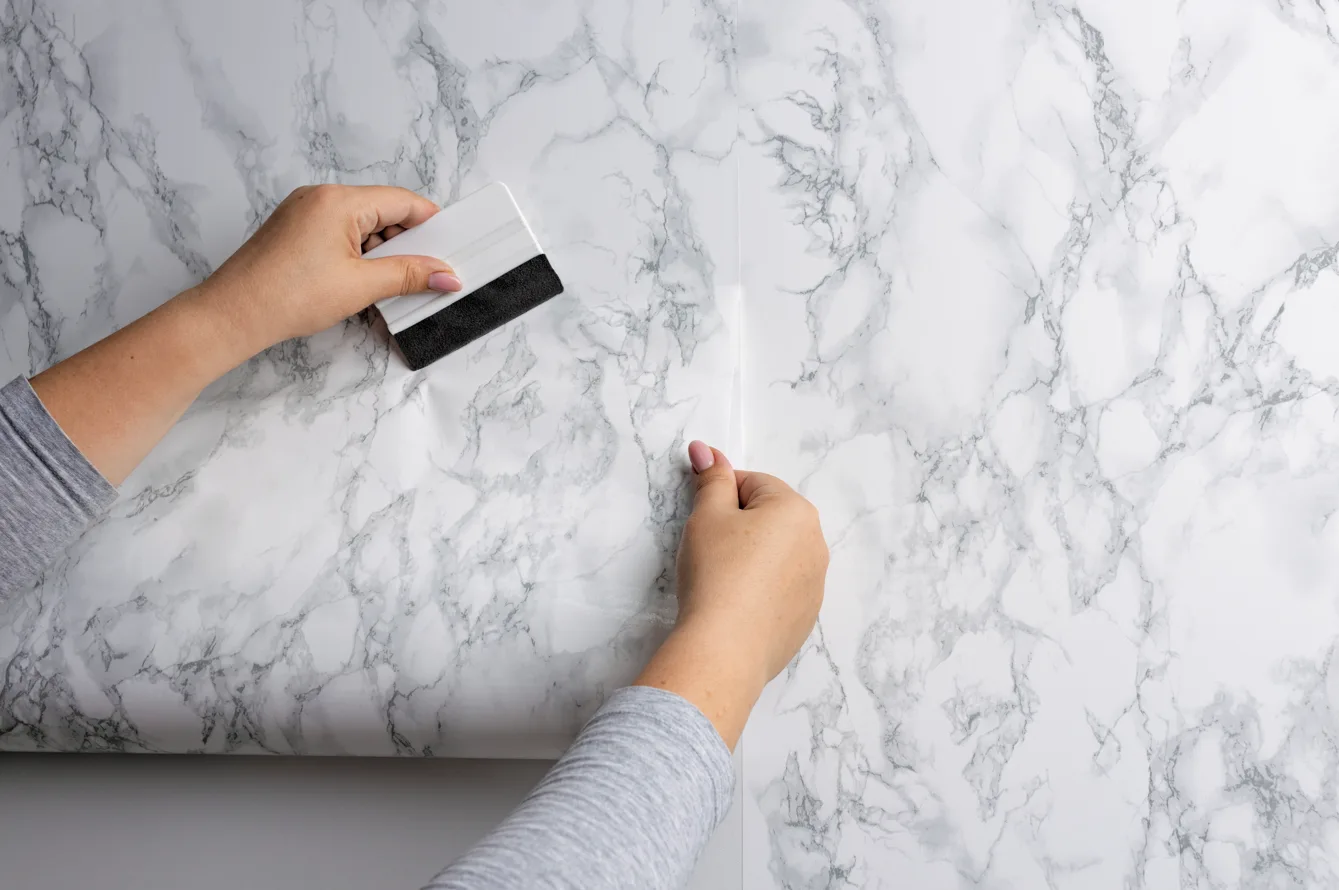
- Prepare the surface properly
Don’t lay tiles on an uneven or dusty base. Clean, level, and dry surfaces give tiles the grip they need. Filling cracks or moisture spots first makes a huge difference.
- Use the right adhesive
Some tiles need cement-based adhesive, others flexible ones. The wrong mix leads to loose tiles later. And yes - mix smaller batches. It dries quicker than you think.
- Check spacing and alignment
Always use spacers for clean grout lines. Keep checking with a spirit level too - crooked tiles will stand out once the grout dries.
- Do a dry run first
Lay a few tiles without adhesive to test how the pattern looks. It helps avoid awkward cuts later.
The “Don’ts” That Save You Headaches
- Don’t rush the process
Tile installation needs patience. Once tiles are set, mistakes are tough to fix. Take your time.
- Don’t skip grout sealing
Grout absorbs water and stains. A quick seal after drying keeps your tiles looking fresh, especially in kitchens and bathrooms.
- Don’t ignore defect checks
Inspect tiles before starting. Even tiny cracks can spread once installed.
- Don’t walk on tiles too soon
Freshly installed tiles need at least 24 hours to cure. For heavy furniture, wait 48–72 hours.
Common Mistakes Homeowners Make
A lot of people mix too much adhesive at once - it hardens before use. Others forget expansion joints, which help tiles “breathe” and prevent cracks.
And honestly, one of the biggest slip-ups is skipping expert help. Watching a few DIY videos might make you feel ready, but floors and bathrooms are tricky. Sometimes calling in a professional is worth every penny.
Conclusion
Renovation isn’t only about picking the prettiest tiles - it’s about installing them right. With the right Tile Installation Tips, you’ll avoid stress and get a finish that lasts.
If you’re planning a project, working with people who know tiles well makes all the difference. At Kurikkal, you’ll find a wide range of tiles and expert guidance for a smoother renovation journey.
Take your time, follow the basics, and you’ll enjoy a floor or wall that looks neat for years.